Quick and Free Way to Set Up Your App using Heroku
April 20, 2014
websitedevopsI had a struck of inspiration earlier this week. I’ve always wanted to make this webapp that has been playing in my mind for a while and I finally had some ideas to start on. Of course, like any of my projects, the first thing I do is research. First in my list was a workflow to streamline development. It’s been a while since I modified my workflow and so I thought it was time for a change.
Aside from the design and flow of the application, my immediate concern was where to host my apps once I’m done with the first milestone. I was researching around the interweb and a familiar link caught my eye. Heroku was the 2nd link of my search. I investigated Heroku when I first made a Facebook application for Lowe Philippines. I remember seeing a link to Heroku from Facebook’s “Create App” wizard. Back then I was more curious than impressed. Anyway, this time I was very curious but now I’m also very impressed with how Heroku made it easy to deploy an app. Heroku does not magically build a scaffold for you but it does guide you through steps in their “Getting started” page and heck it’s free.
What you get for a free account?
- One(1) Dyno
- 10,000 rows of data (postgres)
- 512 Mb RAM
- One(1) hour business-hour support
A dyno is a processing unit coined by Heroku. Heroku help says “A dyno is a lightweight container running a single user-specified command. You can think of it as a virtualized Unix container—it can run any command available in its default environment”. It’s a lot to take in but it simply means you have one worker processing requests and things for you to serve your website and other arbitrary functions like data requests. One seems not a lot but with how fast this requests gets done you won’t even notice, unless of course your application gets some substantial traffic. Aside from the dyno, you get to save 10000 rows of data to Postgres and a generous 512Mb RAM allocation. If you think your application will need more resources, you can scale up by buying more dynos. But for a hobby app or POC, a Heroku free account will serve you nicely.
How to start?
Heroku is very easy to setup. You can go straight to the toolbelt and the dashboard or you can go to their Getting Started page, which I recommend if you’re starting to learn or new to deploying to Heroku.
Getting Started <- start here
Heroku supports a number of languages including PHP, NodeJS etc. This time I was making a PHP application with some AngularJS for the frontend so I followed the PHP track. Anyway, I just did the steps and I got a functional workflow as a starting point.
In summary the steps are:
- Download and Install Heroku Toolbelt for your OS.
- Login to Heroku
- Get keys
- Create App
- Deploy App with git push
Is that it?
You followed the steps, and you got a lean file structure to start with. You have to ,of course, be familiar with Composer and Git to optimize your project, both of which are not covered by this post. Just google them, there are a lot of well written articles and tutorials out there. I especially like the ff:
https://getcomposer.org/doc/00-intro.md
https://www.atlassian.com/git/tutorial/git-basics
Final thoughts
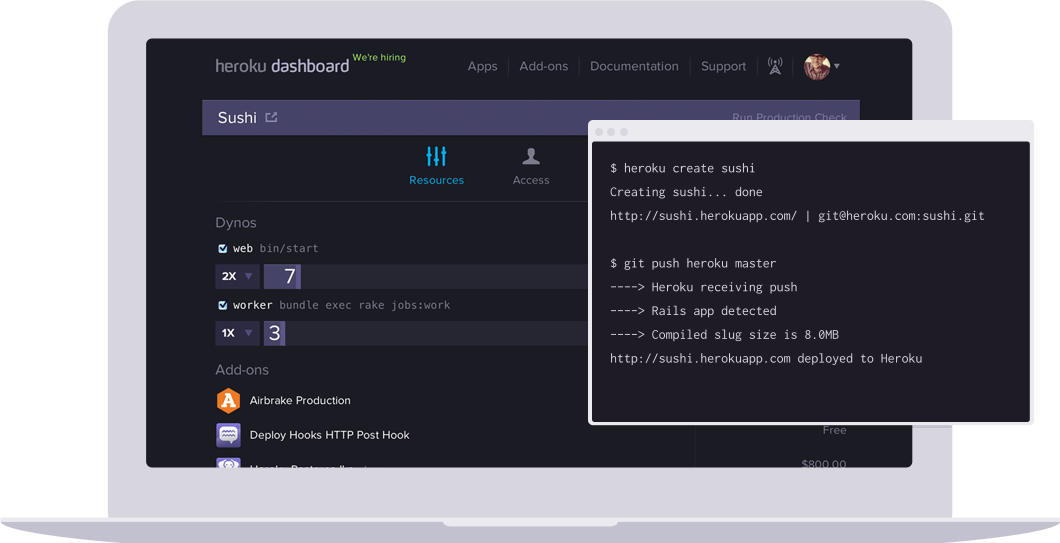
The cool thing about this is everything is accessible and manageable from one console. If you’re a little queasy at the idea of working with the console, this might not be the best thing for you. An alternative is the Heroku dashboard – just create the app and setup a more familiar way of deployment like github. Just provide Heroku of a repo and Heroku will monitor and automatically deploy your app when a change is uploaded.
Heroku is neat and well documented. There’s a bit of a learning curve especially if you’re starting to learn to code or is a total console-phobe. Also, if you’re app has grown popular and pulling some substantial traffic, you need to increase the dynos or your app will shutdown and refuse to process requests. Which will catch a hefty bill. Nevertheless, it does get you started with some impressive workflow and and it’s free-ish. 🙂
Some notes:
First time you push a project (git push heroku master) and it’s empty, it would trigger a error similar to this
! Push rejected, no Cedar-supported app detected
It just means, Heroku does not know what your app is about and so it can’t build the application. Solution is just provide a common starter file like index.php or index.html. This will tell Heroku that you have a PHP or HTML project and build the necessary dependencies. You can also fix this by providing a composer.json, setting up the dependencies you need.
